
Firely Server deployment on Azure App Service
In this section we explain how you can deploy Firely Server in the Azure cloud.
Getting started
Before you can run Firely Server, you need to request a license and download Firely Server. See step 1 of Basic installation.
Deployment
Go to Azure (https://portal.azure.com) and create a web app:

Choose a name for the webapp, we will use the placeholder <firely-server-app>, fill in an existing resource group or create a new one, unselect the unique secure hostname, select Linux for the operation system (OS), use .Net 8 for the runtime stack and choose a region close to you:

Configure Azure App Service Health Checks to target the /$liveness endpoint. This ensures the app has enough time to load conformance resources and start properly. Otherwise, Azure may automatically restart the app before initialization completes. See $Liveness for more information.
Download the latest Firely Server release from https://fire.ly/products/firely-server/.
Add the trial license file (firelyserver-trial-license.json) to the downloaded firely-server-latest.zip by dragging the license file into the zipfile.
Create a file called appsettings.json with the following content and add it to the zip file:
{
  "License": {
    "LicenseFile": "firelyserver-trial-license.json"
  },
  "Hosting": {
    "HttpPort": 8080,
    "ReverseProxySupport": {
      "Enabled": true,
      "TrustedProxyIPNetworks": [
        "0.0.0.0/0"
      ],
      "AllowAnyNetworkOrigins": true
    }
  }
}
This configuration file configures Firely Server to use the provided license file, to listen on port 8080 (the port used by Azure Web Apps for Linux) and to support reverse proxy scenarios.
Note
If you want to use another kind of repository than the SQLite repository, you can add the settings for either SQL Server or MongoDB in this appsettings.json file.
Open a terminal and use the Azure CLI to deploy the zip file to the web app. Use the following command (replace the placeholders with your own values):
az webapp deploy \
   --resource-group <resource-group> \
   --name <firely-server-app> \
   --src-path <path-to-zip-file> \
   --type zip --clean true --restart true
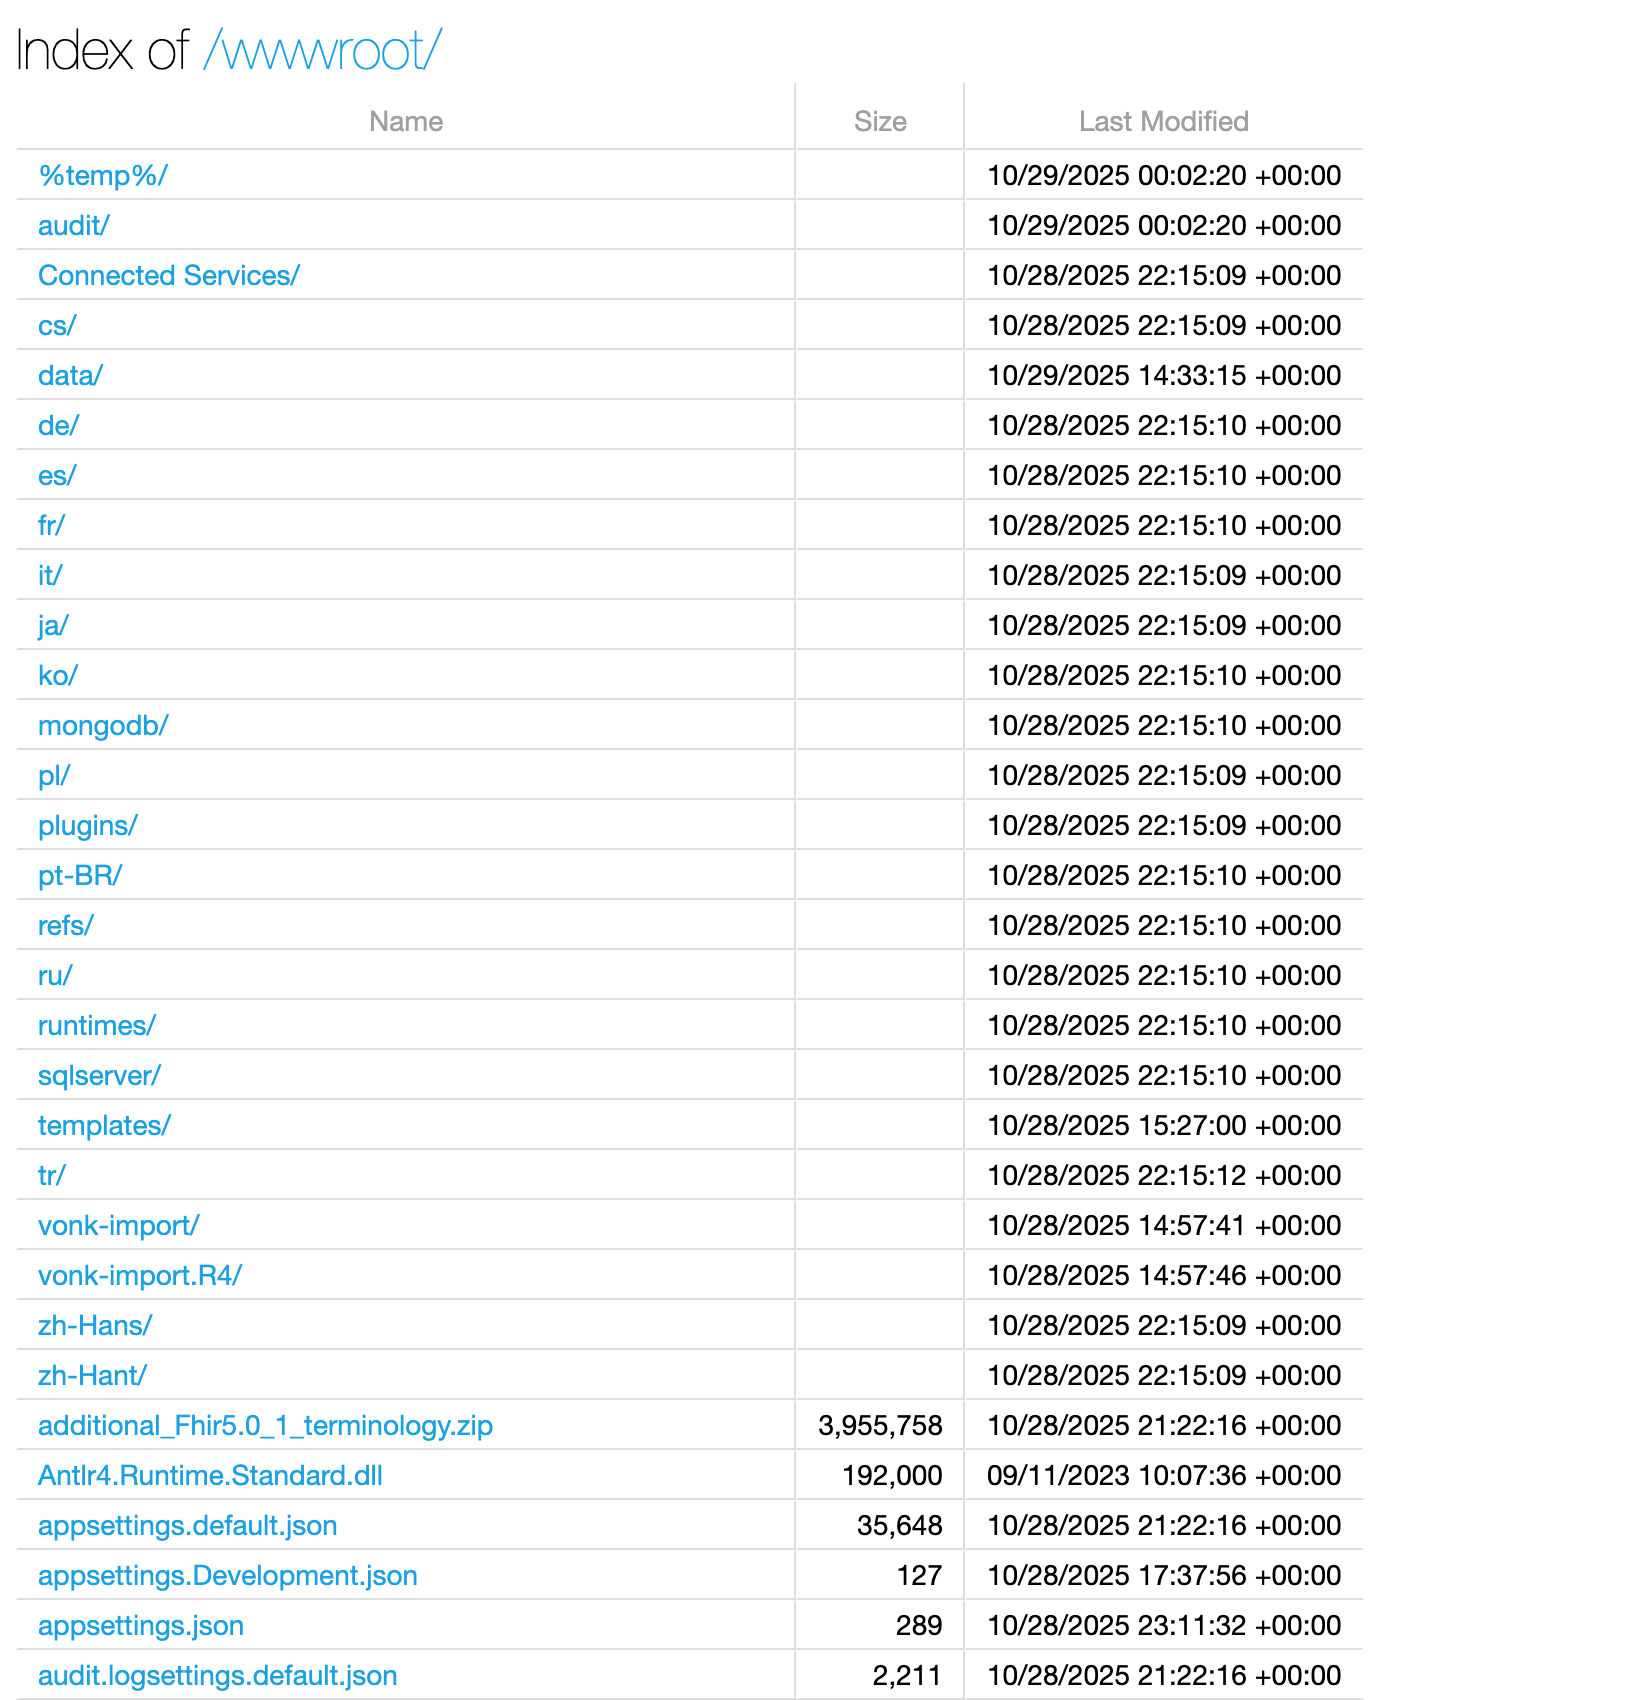
After deploying the .zip file using the Azure CLI, verify that all content has been extracted into the top-level webroot directory.
Open a browser and go to the site
https://<firely-server-app>.azurewebsites.net/. This will show the Firely Server home page.
Change database
In this example Firely Server is using a SQLite repository. If you want to change it to another kind of repository then you could change that on the page Application Settings of the Web App. Here you can set Environment Variables with the settings for either SQL Server or MongoDB. For example for SQL Server it will look like this:

More information
About Azure zip deployment: https://learn.microsoft.com/en-us/azure/app-service/deploy-zip?tabs=cli
Important
We recommend using either SQL Server or MongoDB as both the data and administration repositories when deploying Firely Server as an Azure Web App in Production due to autoscaling and file handling. See Database configuration for details on configuring these databases.
We recommend using slots for deploying new versions of Firely Server to minimize downtime. See Azure App Service Deployment Slots for more information on how to set this up.